
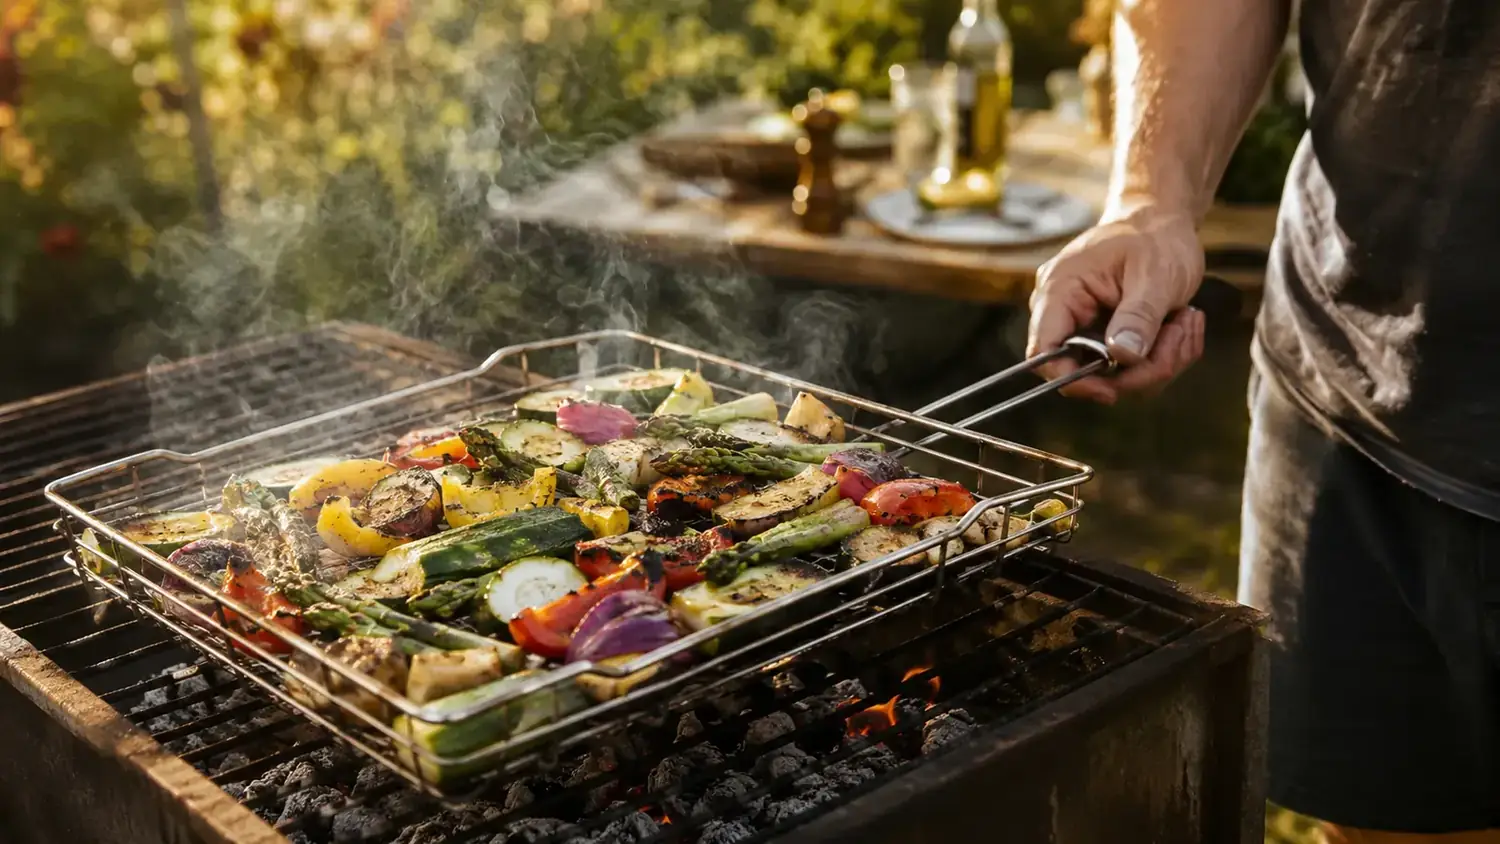
I lost my first batch of zucchini to the coals when I was nineteen years old. My dad had handed me the tongs and walked inside to get more tea, and by the time he came back I was staring down at a grate with half the vegetables gone and the other half stuck like they'd been welded on. I flipped the pieces that survived and pretended nothing happened. Those of us who've grilled long enough have that story.
The fix is not complicated, but it does require knowing a few things: which vegetables hold up to direct heat, how to cut them so they don't slip through, how to oil and season properly before they hit the heat, and why a grill basket makes all of it significantly easier. I've been grilling vegetables for family cookouts here in West Texas for going on 25 years, and this is the method I use every time. It works on gas, it works on charcoal, and nothing ends up in the coals.
Stop losing vegetables to the coals before you even start.
The Weber Deluxe Grilling Basket is the tool that makes grilling vegetables practical. Stainless steel, hinged closure, and a hole pattern small enough to keep asparagus and cherry tomatoes exactly where you put them.
Amazon Check Today's Price on Amazon →Step 1: Choose Vegetables That Actually Work on the Grill
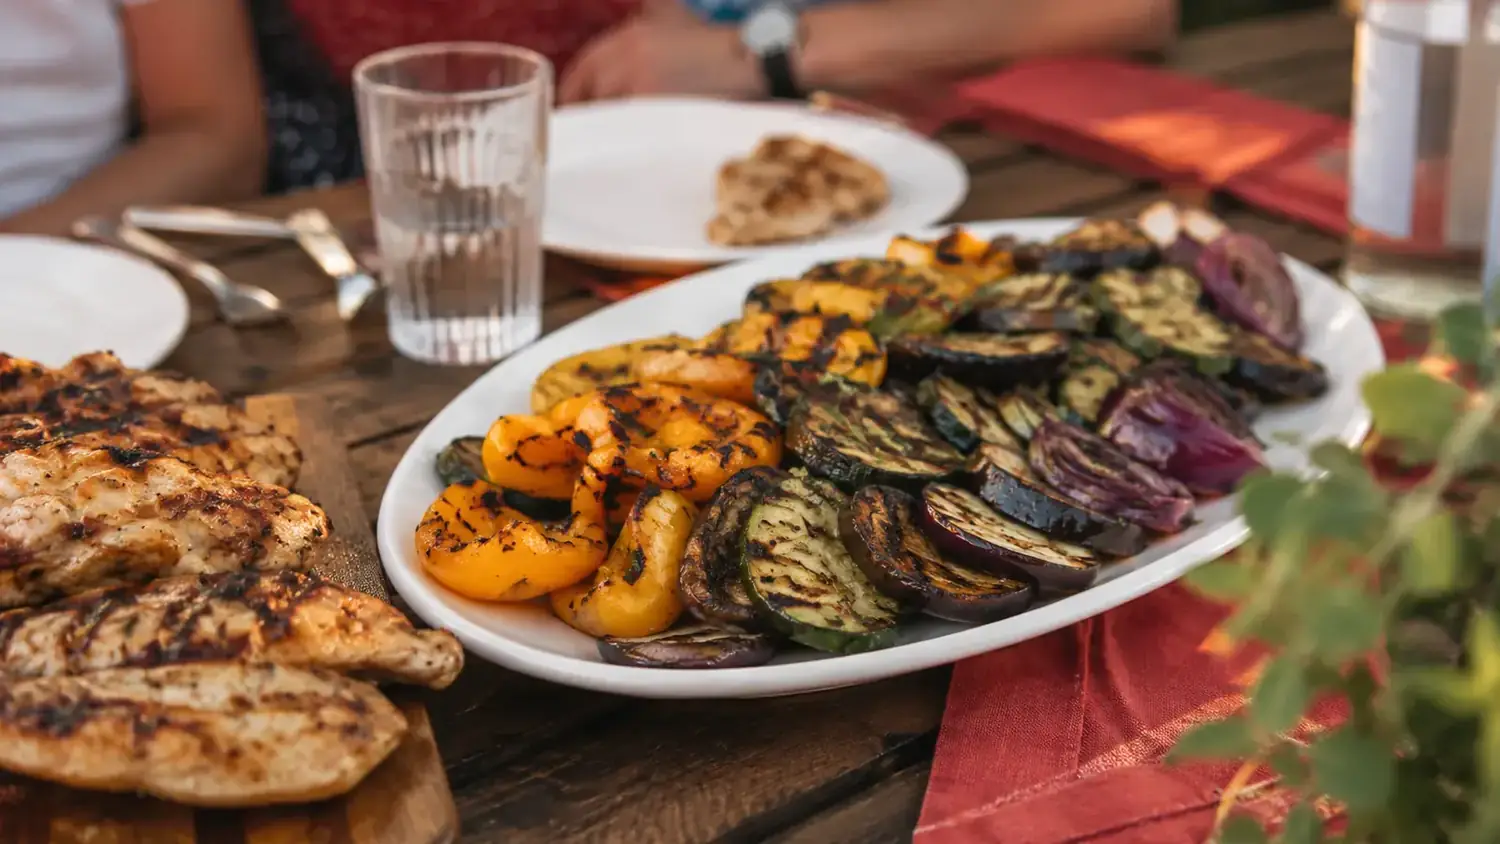
Not every vegetable is a good candidate for direct-heat grilling. The ones that work best have enough moisture to stay tender through the cook without turning to mush, and enough structure to survive being flipped or tossed. My go-to list: zucchini and yellow squash, bell peppers in any color, red onion, asparagus, portobello and cremini mushrooms, eggplant, broccolini, and cherry or grape tomatoes. All of these can handle medium-high heat and develop real char flavor.
Vegetables I avoid on direct high heat: leafy greens, anything pre-cooked and soft, and most root vegetables at full thickness. Corn on the cob is its own category and gets handled differently. Potatoes work if you par-boil them first and then finish on the grill. If something seems too thin or too watery to hold up to a hot grate, trust that instinct.
Step 2: Cut Everything to the Right Size
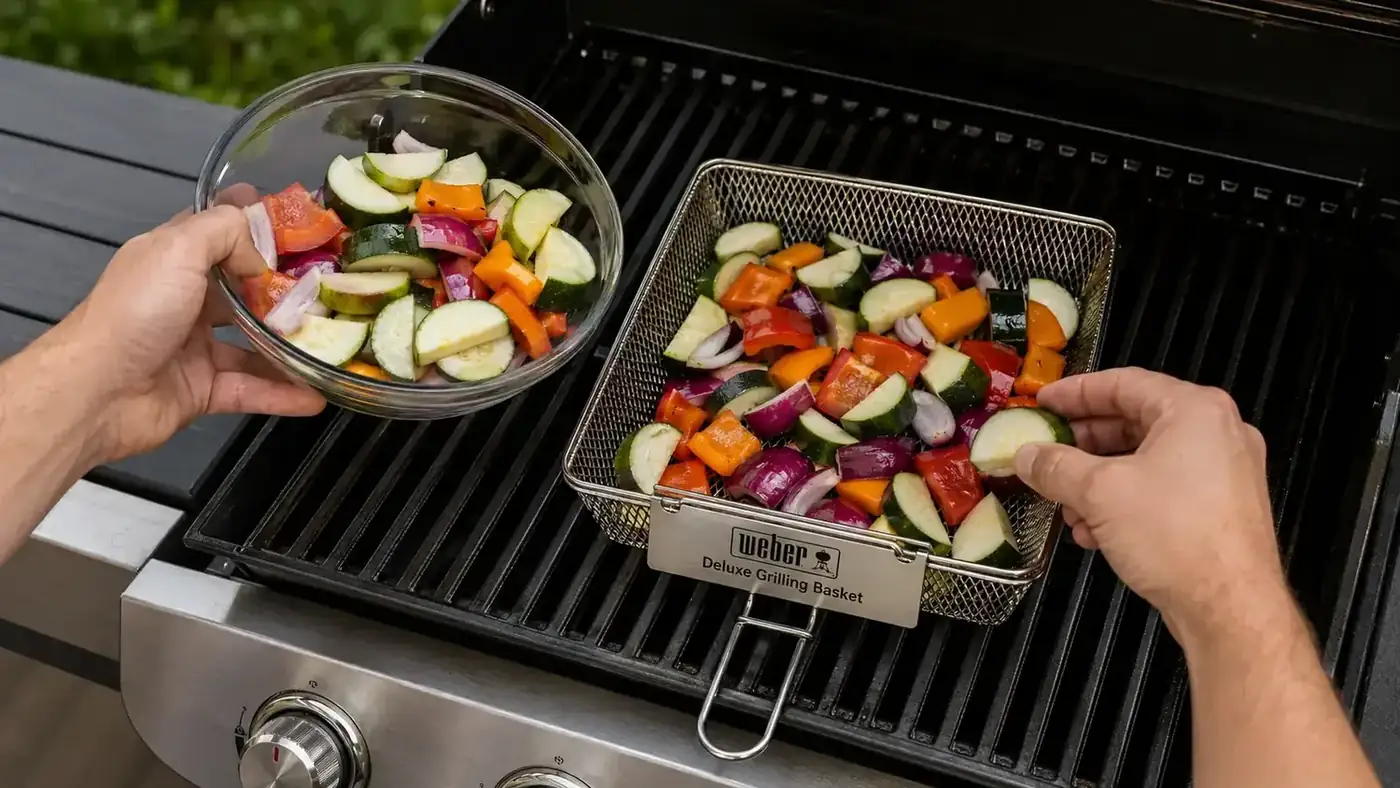
This is the step that causes the most problems when people skip it. The goal is to cut vegetables thick enough to get grill marks and stay intact, but not so thick that the outside chars before the inside cooks. For zucchini and yellow squash, I slice them into rounds about a half inch thick, or cut them lengthwise into planks about the same thickness. Either way works. For bell peppers, I remove the core and cut into strips roughly an inch wide. Red onion gets sliced into rings or half-moon wedges about three-quarters of an inch thick.
Asparagus is the one exception to the thickness rule. You want spears that are at least as thick as a pencil, ideally thicker. Thin asparagus (the wispy stuff) overcooks in about 90 seconds and falls apart. Thick spears can handle three to four minutes per side and come off with a good snap. Mushrooms go in whole or halved, depending on size. Cherry tomatoes go in whole. Eggplant gets sliced into rounds at least three-quarters of an inch thick. Thinner than that and eggplant goes from firm to limp before you get any color on it.
Step 3: Oil and Season Before the Heat
Dry vegetables stick. Oiled vegetables release. This sounds obvious but I still see people toss unseasoned vegetables straight onto the grate and then wonder why everything is adhered and tearing. I use a large bowl. The vegetables go in, then a generous drizzle of olive oil or avocado oil, then salt, black pepper, and whatever seasoning fits the meal. I toss everything with my hands until every surface has a light, even coat. You're not drowning them, just making sure nothing is dry.
For seasoning, my default is kosher salt, cracked black pepper, garlic powder, and a little smoked paprika. It works with everything. If I'm doing a Mediterranean spread, I'll add dried oregano and a squeeze of lemon after they come off. For a Mexican-influenced meal, I'll add cumin and chili powder. The key is to season in the bowl before cooking, not after, so the spices have a chance to adhere to the oiled surface. Seasoning after the cook hits mostly air.
Step 4: Set Up a Two-Zone Fire and Use Your Grill Basket
Two-zone setup means you have a hot side and a cooler side. On a gas grill, I run two burners on medium-high and leave one burner off. On charcoal, I bank the coals to one side and leave the other side clear. This gives you somewhere to move vegetables if they're cooking too fast, and it gives you control over the process instead of the fire controlling you. Target temperature over the hot zone is around 400 to 425 degrees Fahrenheit. Hotter than that and thin vegetables will scorch before they cook through.
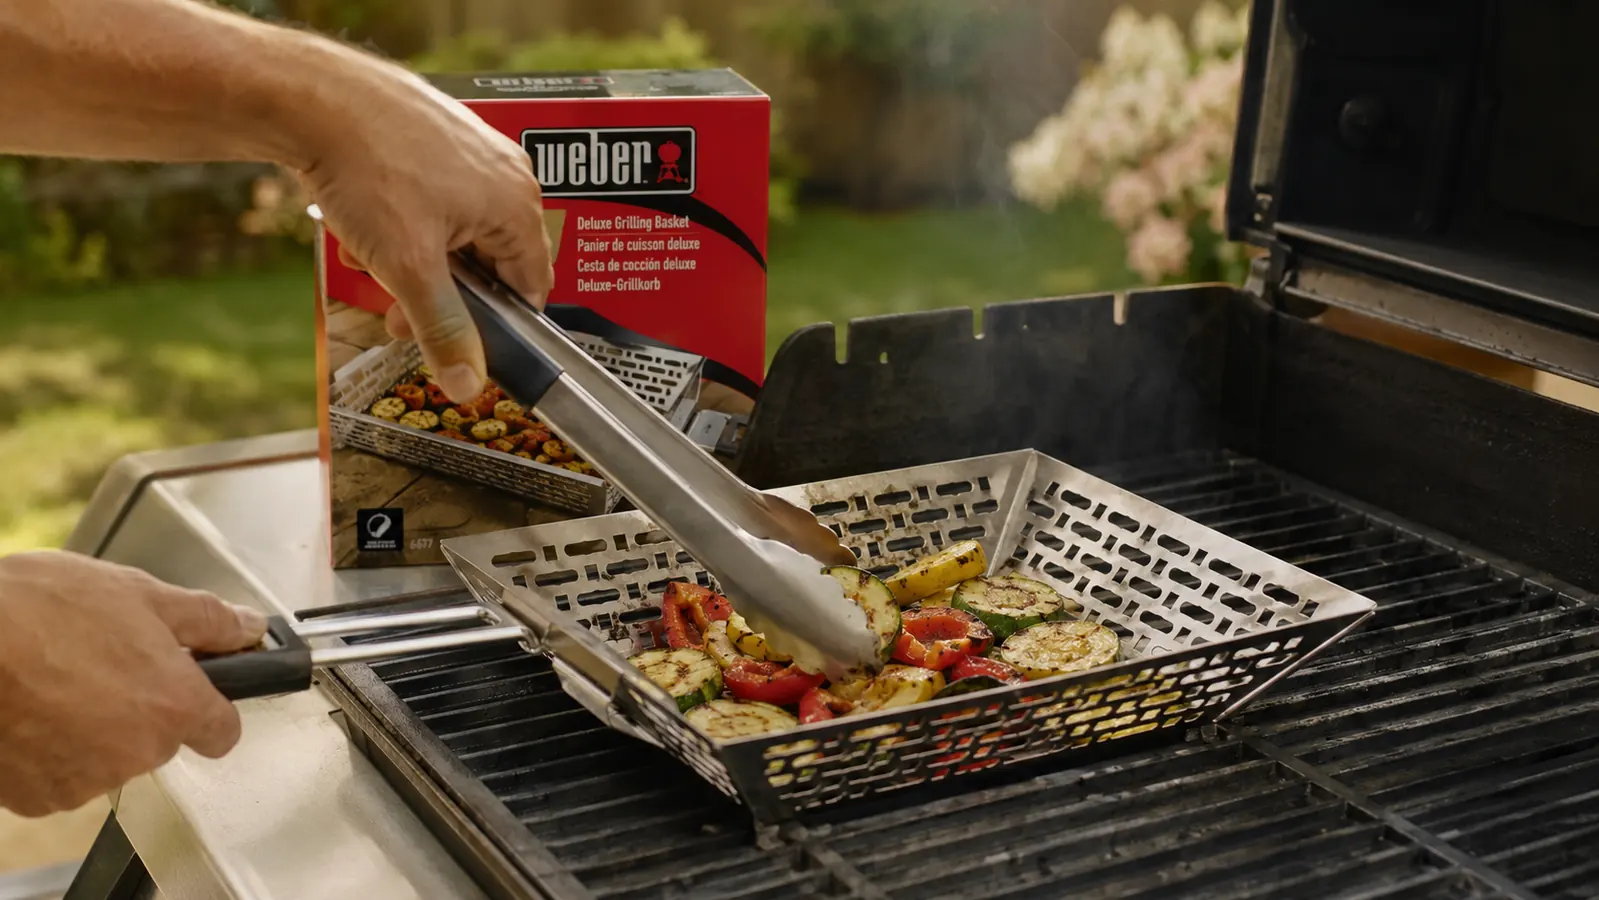
This is also where the grill basket becomes important. I use the Weber Deluxe Grilling Basket for all my vegetable cooking, and it has made a real difference in how those cookouts go. The basket is hinged, so it closes and locks over the vegetables, which means I can flip the whole load at once without chasing individual pieces around the grate. The hole pattern is small enough to keep cherry tomatoes and asparagus spears inside. The handles stay cool enough to grip with a towel. I load the oiled vegetables into the open basket, close and latch it, and set it over the hot zone.
The basket closes and locks over the vegetables, which means I can flip the whole load at once without chasing individual pieces around the grate.
Step 5: Time Each Vegetable, Toss Once Midway
Different vegetables cook at different rates, which is why I try to group similar-density vegetables in the same basket load. Here are the times I work from over medium-high direct heat, with the basket closed.
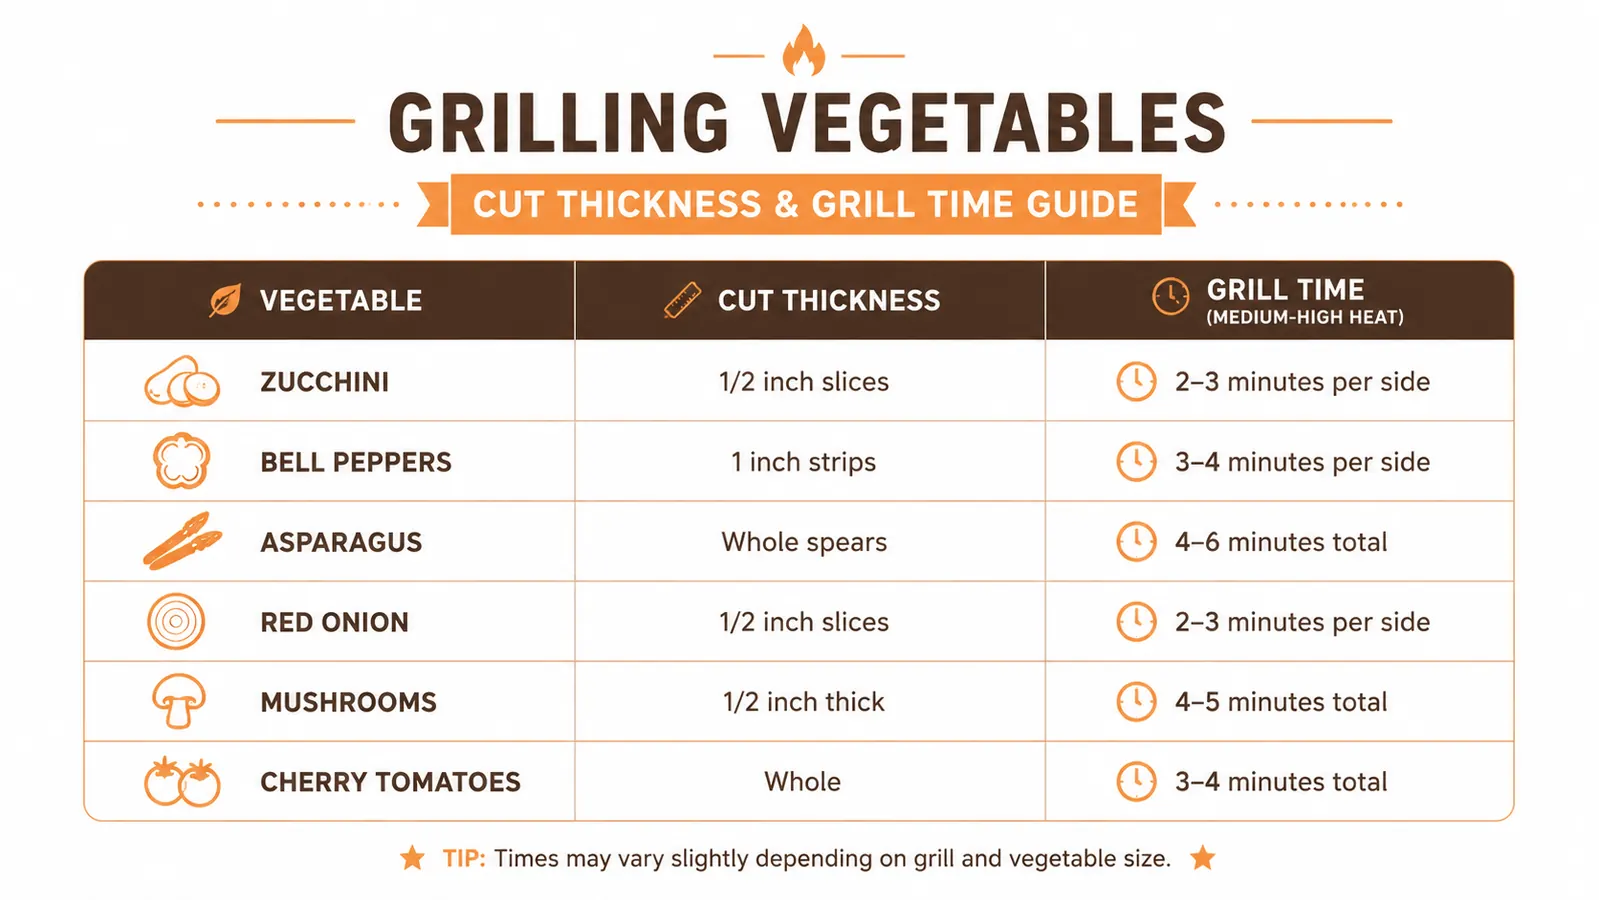
Zucchini rounds and yellow squash: 3 to 4 minutes per side. Flip the basket once at the halfway point. You're looking for golden char marks and a fork that slides in without resistance. Bell pepper strips: 4 to 5 minutes per side. Peppers take longer than you think and they're worth the extra time. Red onion wedges: 4 to 5 minutes per side. You want them to soften and sweeten, not just brown on the outside. Asparagus spears: 3 to 4 minutes per side for thick spears, 2 minutes per side for medium spears. They're done when they have visible char and bend slightly when you pick one up with tongs. Portobello and cremini mushrooms: 4 to 5 minutes per side. Mushrooms release a lot of moisture, so don't rush them. They're done when they've shrunk, browned, and the surface is no longer wet. Cherry tomatoes: 2 to 3 minutes total, tossing once or twice inside the basket. You want them blistered and slightly soft, not collapsed. Eggplant rounds: 4 minutes per side. They should be golden and completely tender all the way through.
If you're mixing vegetables, start the longer-cooking items first. I'll put onions and peppers in the basket for three minutes before I add zucchini, so everything finishes close to the same time. Cherry tomatoes and asparagus always go last. Tossing the basket once at the midpoint redistributes everything so the pieces on the edges get exposure to direct heat. Shake the basket or open it and stir gently with long tongs, then close and latch again.
Step 6: Read the Doneness Cues
Color and texture tell you when vegetables are done. I don't use a thermometer for vegetables. What I look for is this: visible grill marks that are golden-brown to slightly charred, not black. A fork or a tong-squeeze that meets a little resistance at first but goes through cleanly. A surface that has dried slightly from when you put it on, which tells you excess moisture has cooked off. And on vegetables like squash and eggplant, a slight collapse in shape, meaning the interior has softened.
The most common mistake is undercooking vegetables because people pull them off at the first sign of color. Vegetables need to cook all the way through to develop sweetness and that roasted depth of flavor. A zucchini that's lightly marked but still firm in the middle tastes like nothing. A zucchini that's cooked through with deep marks has real flavor. Patience is the tool. The grill basket keeps them from falling through while you wait for that result.
What Else Helps
A clean, well-oiled grate matters even when you're using a basket, because a basket sitting on a gunky grate gets contamination flavors from the old residue. I preheat the grill for 10 to 15 minutes with the lid closed, then brush the grate clean and oil it lightly with a folded paper towel dipped in high-smoke-point oil. That done, the basket goes on a clean surface and the vegetables stay tasting like vegetables.
Finishing touches that make a difference: a squeeze of fresh lemon right when the vegetables come off the heat, a pinch of flaky salt, a drizzle of good olive oil, or a few fresh herb leaves torn over the top. These additions cost almost nothing and they lift a simple grilled vegetable from a side dish into something people ask about. I've had guests at my cookouts tell me they don't even like vegetables, then take a second helping of the grilled zucchini. That's not me. That's what high heat and a little char does to produce.
One more thing worth mentioning: don't crowd the basket. A basket that's overfilled steams instead of grills. Vegetables need space around them so heat can circulate and moisture can escape. If I'm feeding a crowd, I do two or three basket loads back to back. The first batch comes off and sits tented under foil while the second load cooks. Everything stays warm enough and the quality stays consistent. Cramming everything in at once saves five minutes and costs you the char.
A basket that's overfilled steams instead of grills. Vegetables need space around them so heat can circulate and moisture can escape.
If you're new to using a grill basket, the Weber Deluxe Grilling Basket is the one I'd point you toward. I've used others that had too-large holes, handles that got dangerously hot, or latches that didn't stay closed when you flipped them. The Weber has held up through two full grilling seasons at my place with no rust, no warping, and no complaints. It fits a full batch of vegetables for four people in one load. You can read my longer write-up on it at the Weber Deluxe Grilling Basket review if you want more detail on the build quality and what I've cooked in it.
If you're wondering whether a basket is really necessary or just a nice-to-have, take a look at 10 reasons a grill basket makes backyard cooking better for a fuller picture of what it changes. Short answer: for vegetables, it's not optional if you want consistent results.
The Weber basket is the reason none of my vegetables end up in the coals anymore.
Stainless steel, hinged and locking, small enough holes to hold asparagus, and it cleans up in the dishwasher. The Weber Deluxe Grilling Basket is the one tool that changed how I cook vegetables at every cookout.
Amazon Check Today's Price on Amazon →